How I Built a Vulkan Rendering Engine
Introduction
In this blog post, I am going to share my entire development journey in building a rendering engine using the Vulkan API. The engine features Physically-Based Rendering (PBR), HDR skybox, Image-Based Lighting (IBL), frustum culling, shadow mapping and depth pre-pass. I named the engine Vejaler and published its source code here.
Although the engine is still under development, I thought it might be worthwhile to document what I have built so far, and share the challenges I have faced early-on.
Why I Wanted To Learn Vulkan
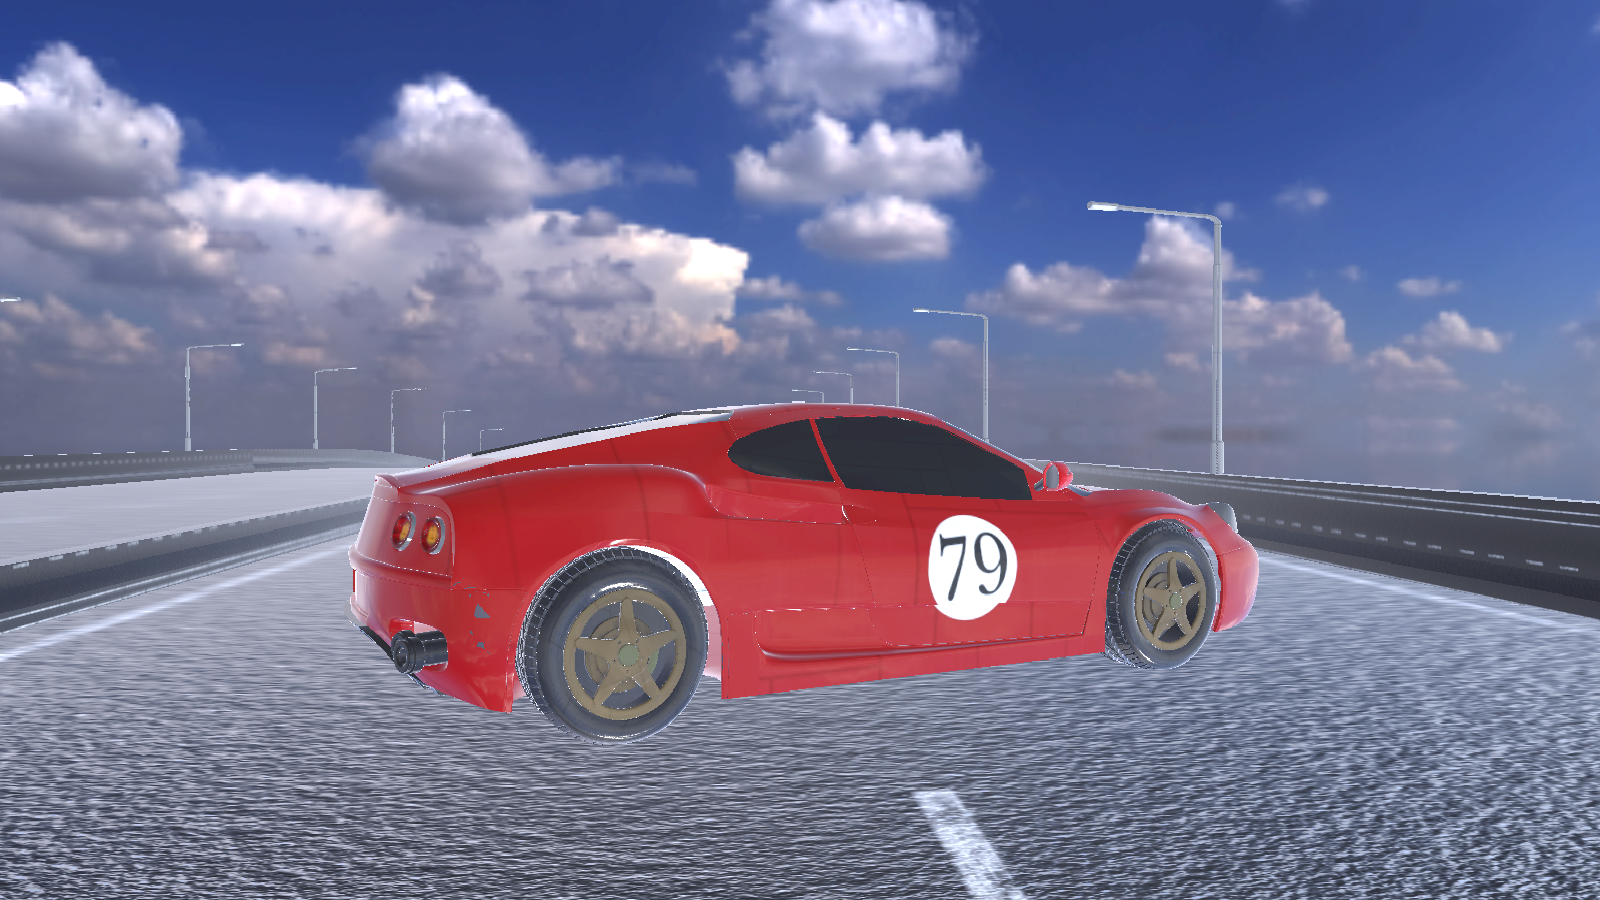
I started my graphics programming journey in January 2022, after finishing my computer graphics course at Concordia University, in Montreal, Canada. During the course, I got introduced to OpenGL and built a simple simulation as part of the required project. However, I fell in love with graphics programming as a career then, and decided to pursue it full-time while completing my degree.
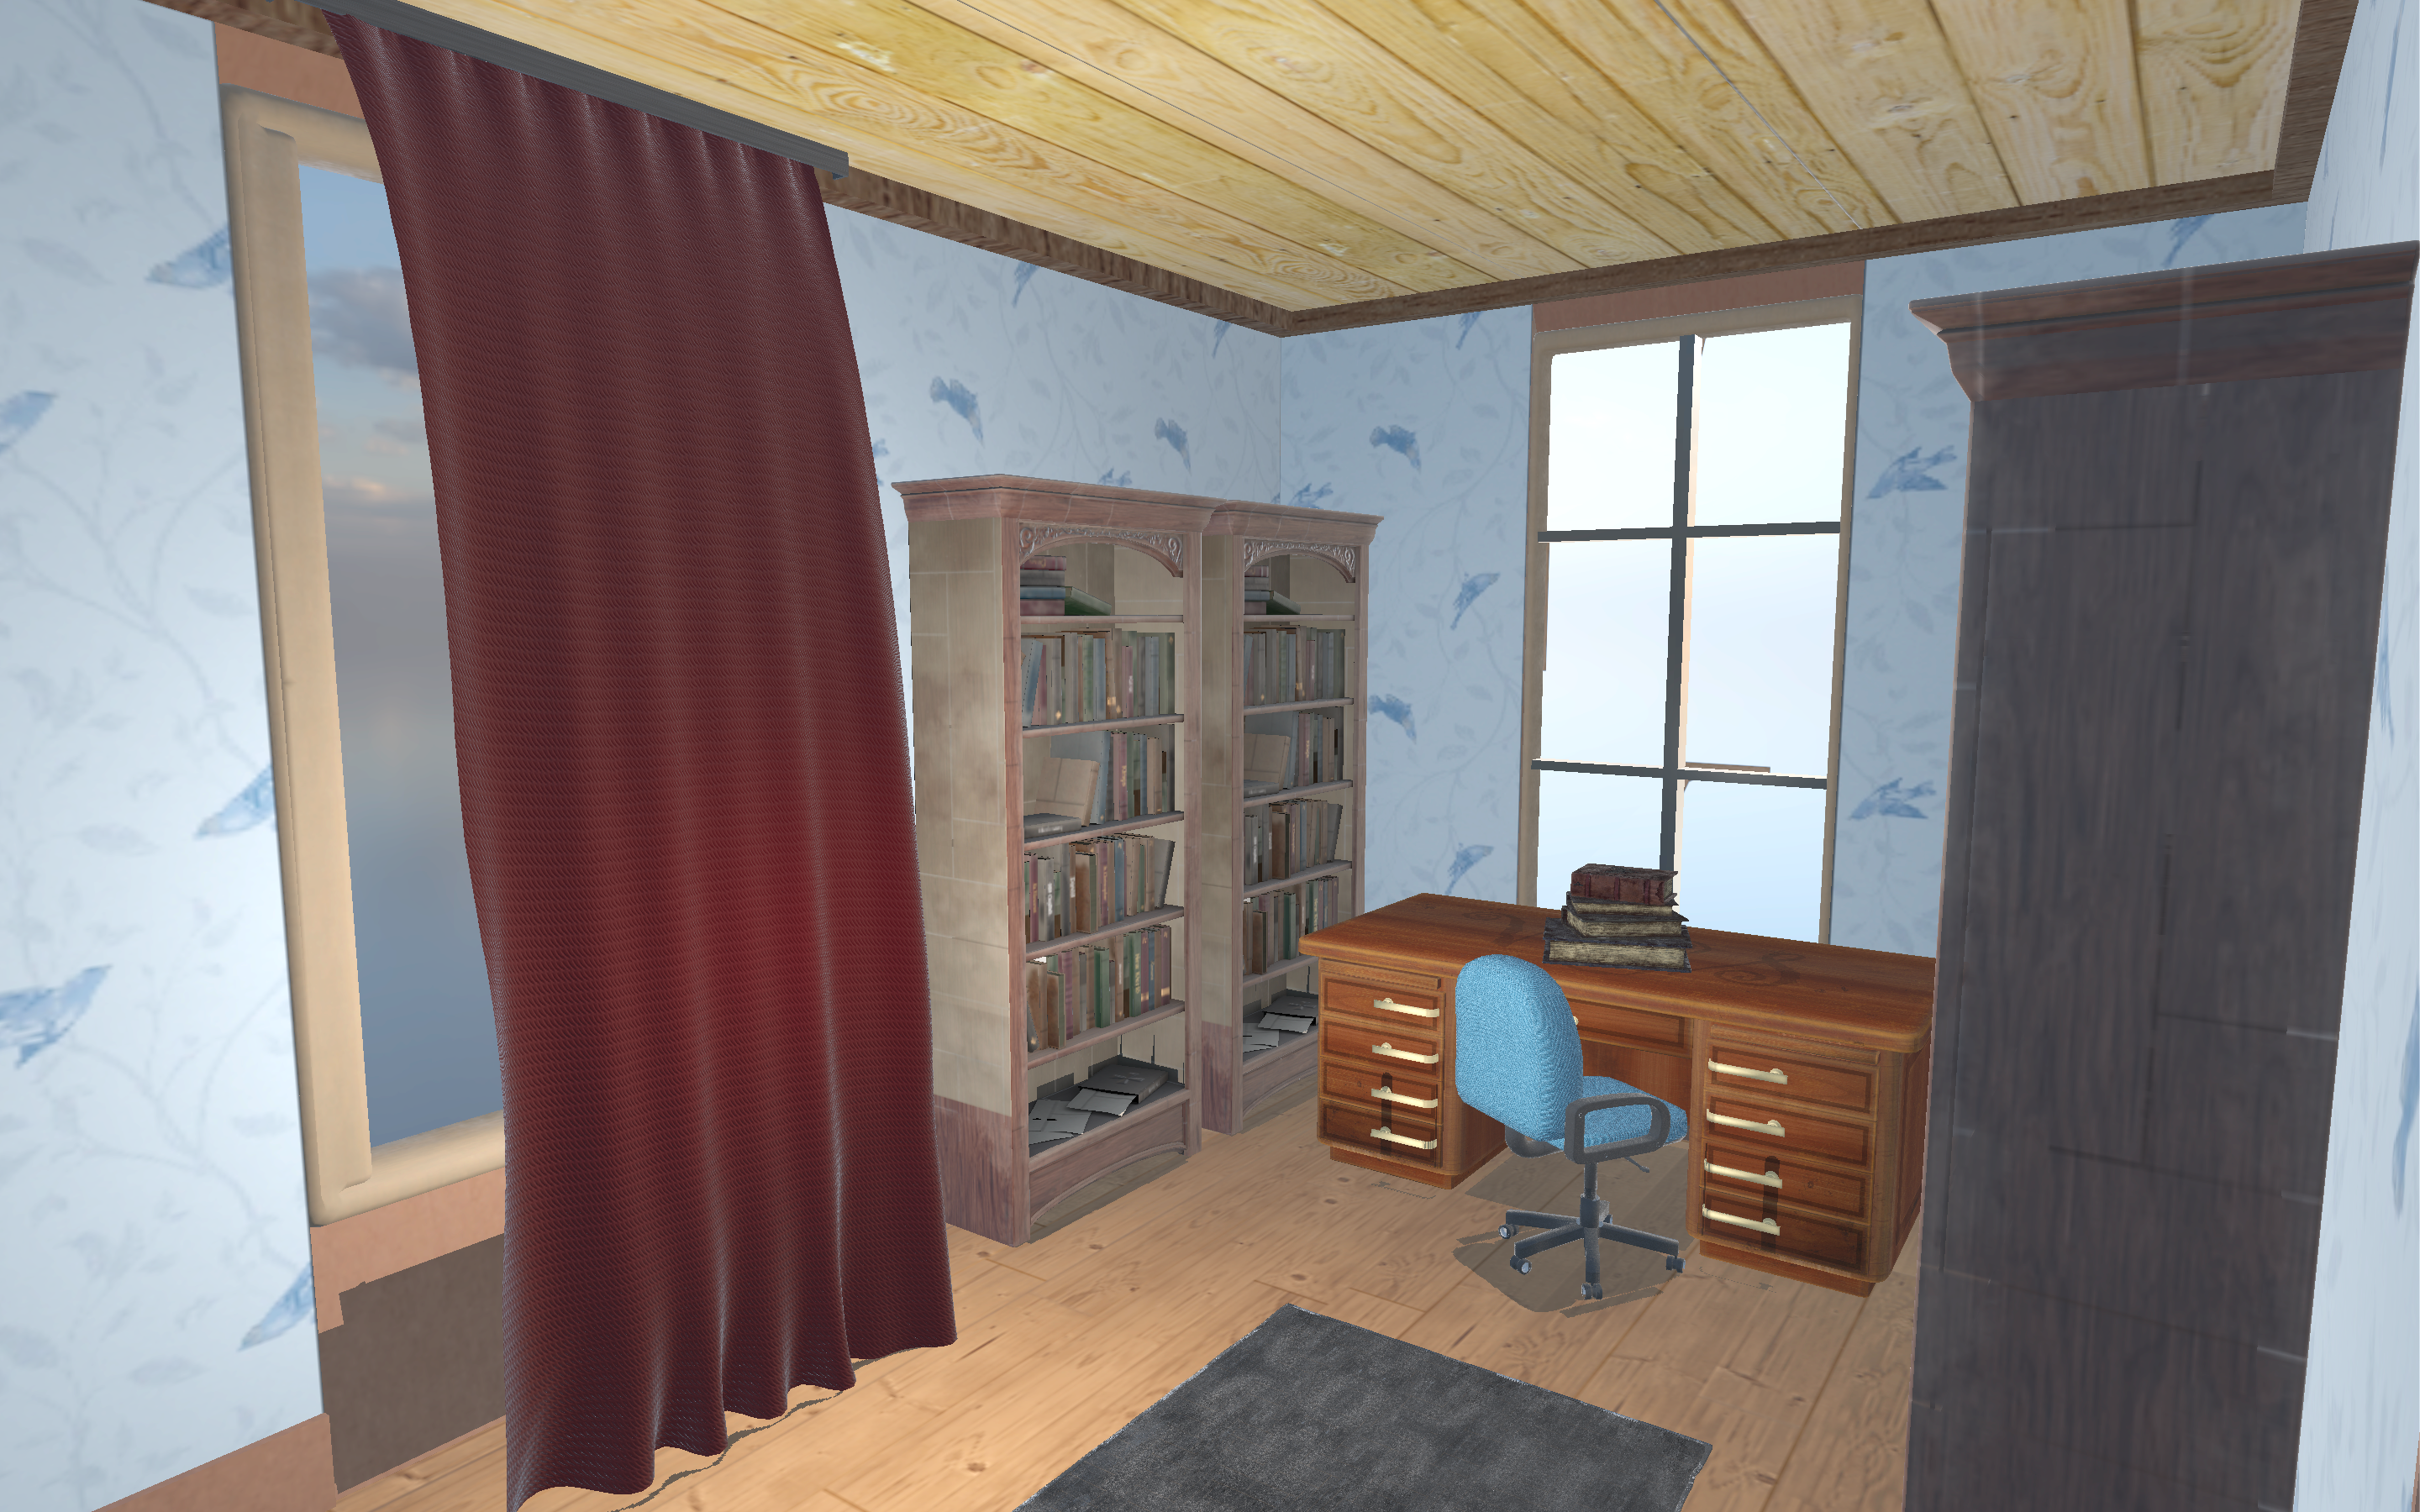
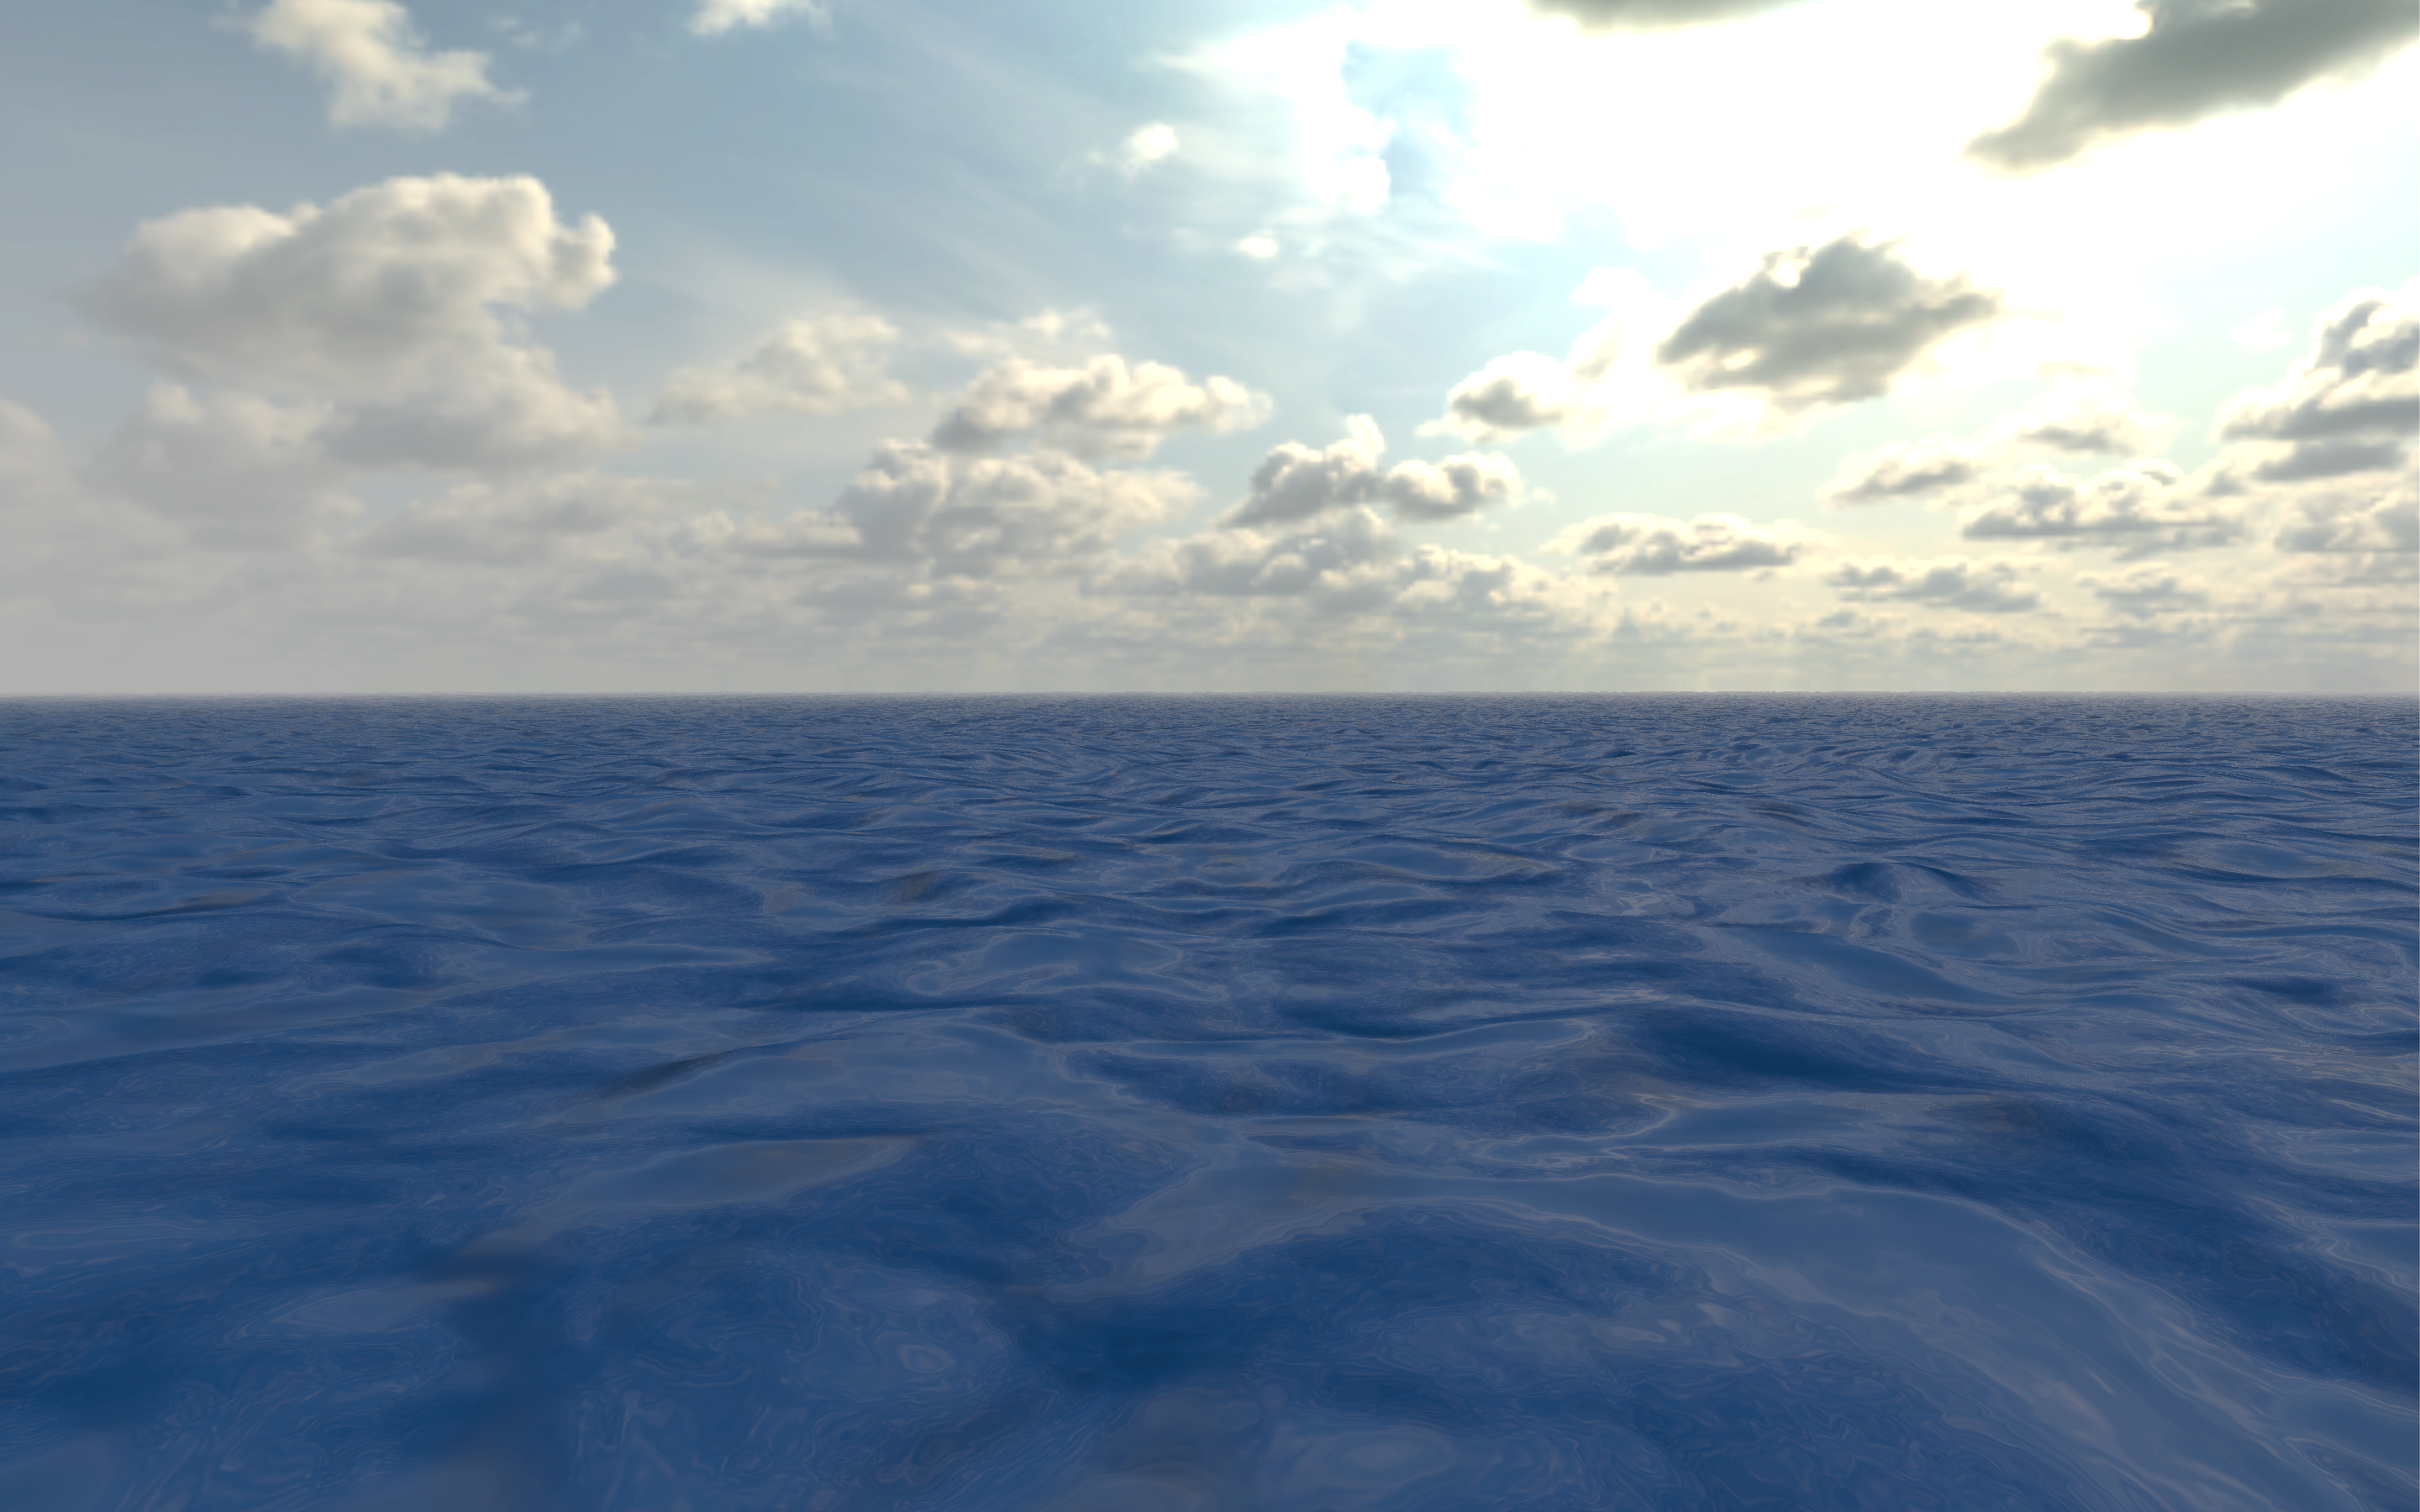
After finishing the course, I started diving deeper into more advanced computer graphics topics, such as PBR, IBL, portal culling, occlusion culling, etc…, and was using OpenGL as the main API to apply the concepts I learnt from the textbooks, and also build advanced applications such as ocean simulation, cloth simulation, procedural-terrain generation and more.
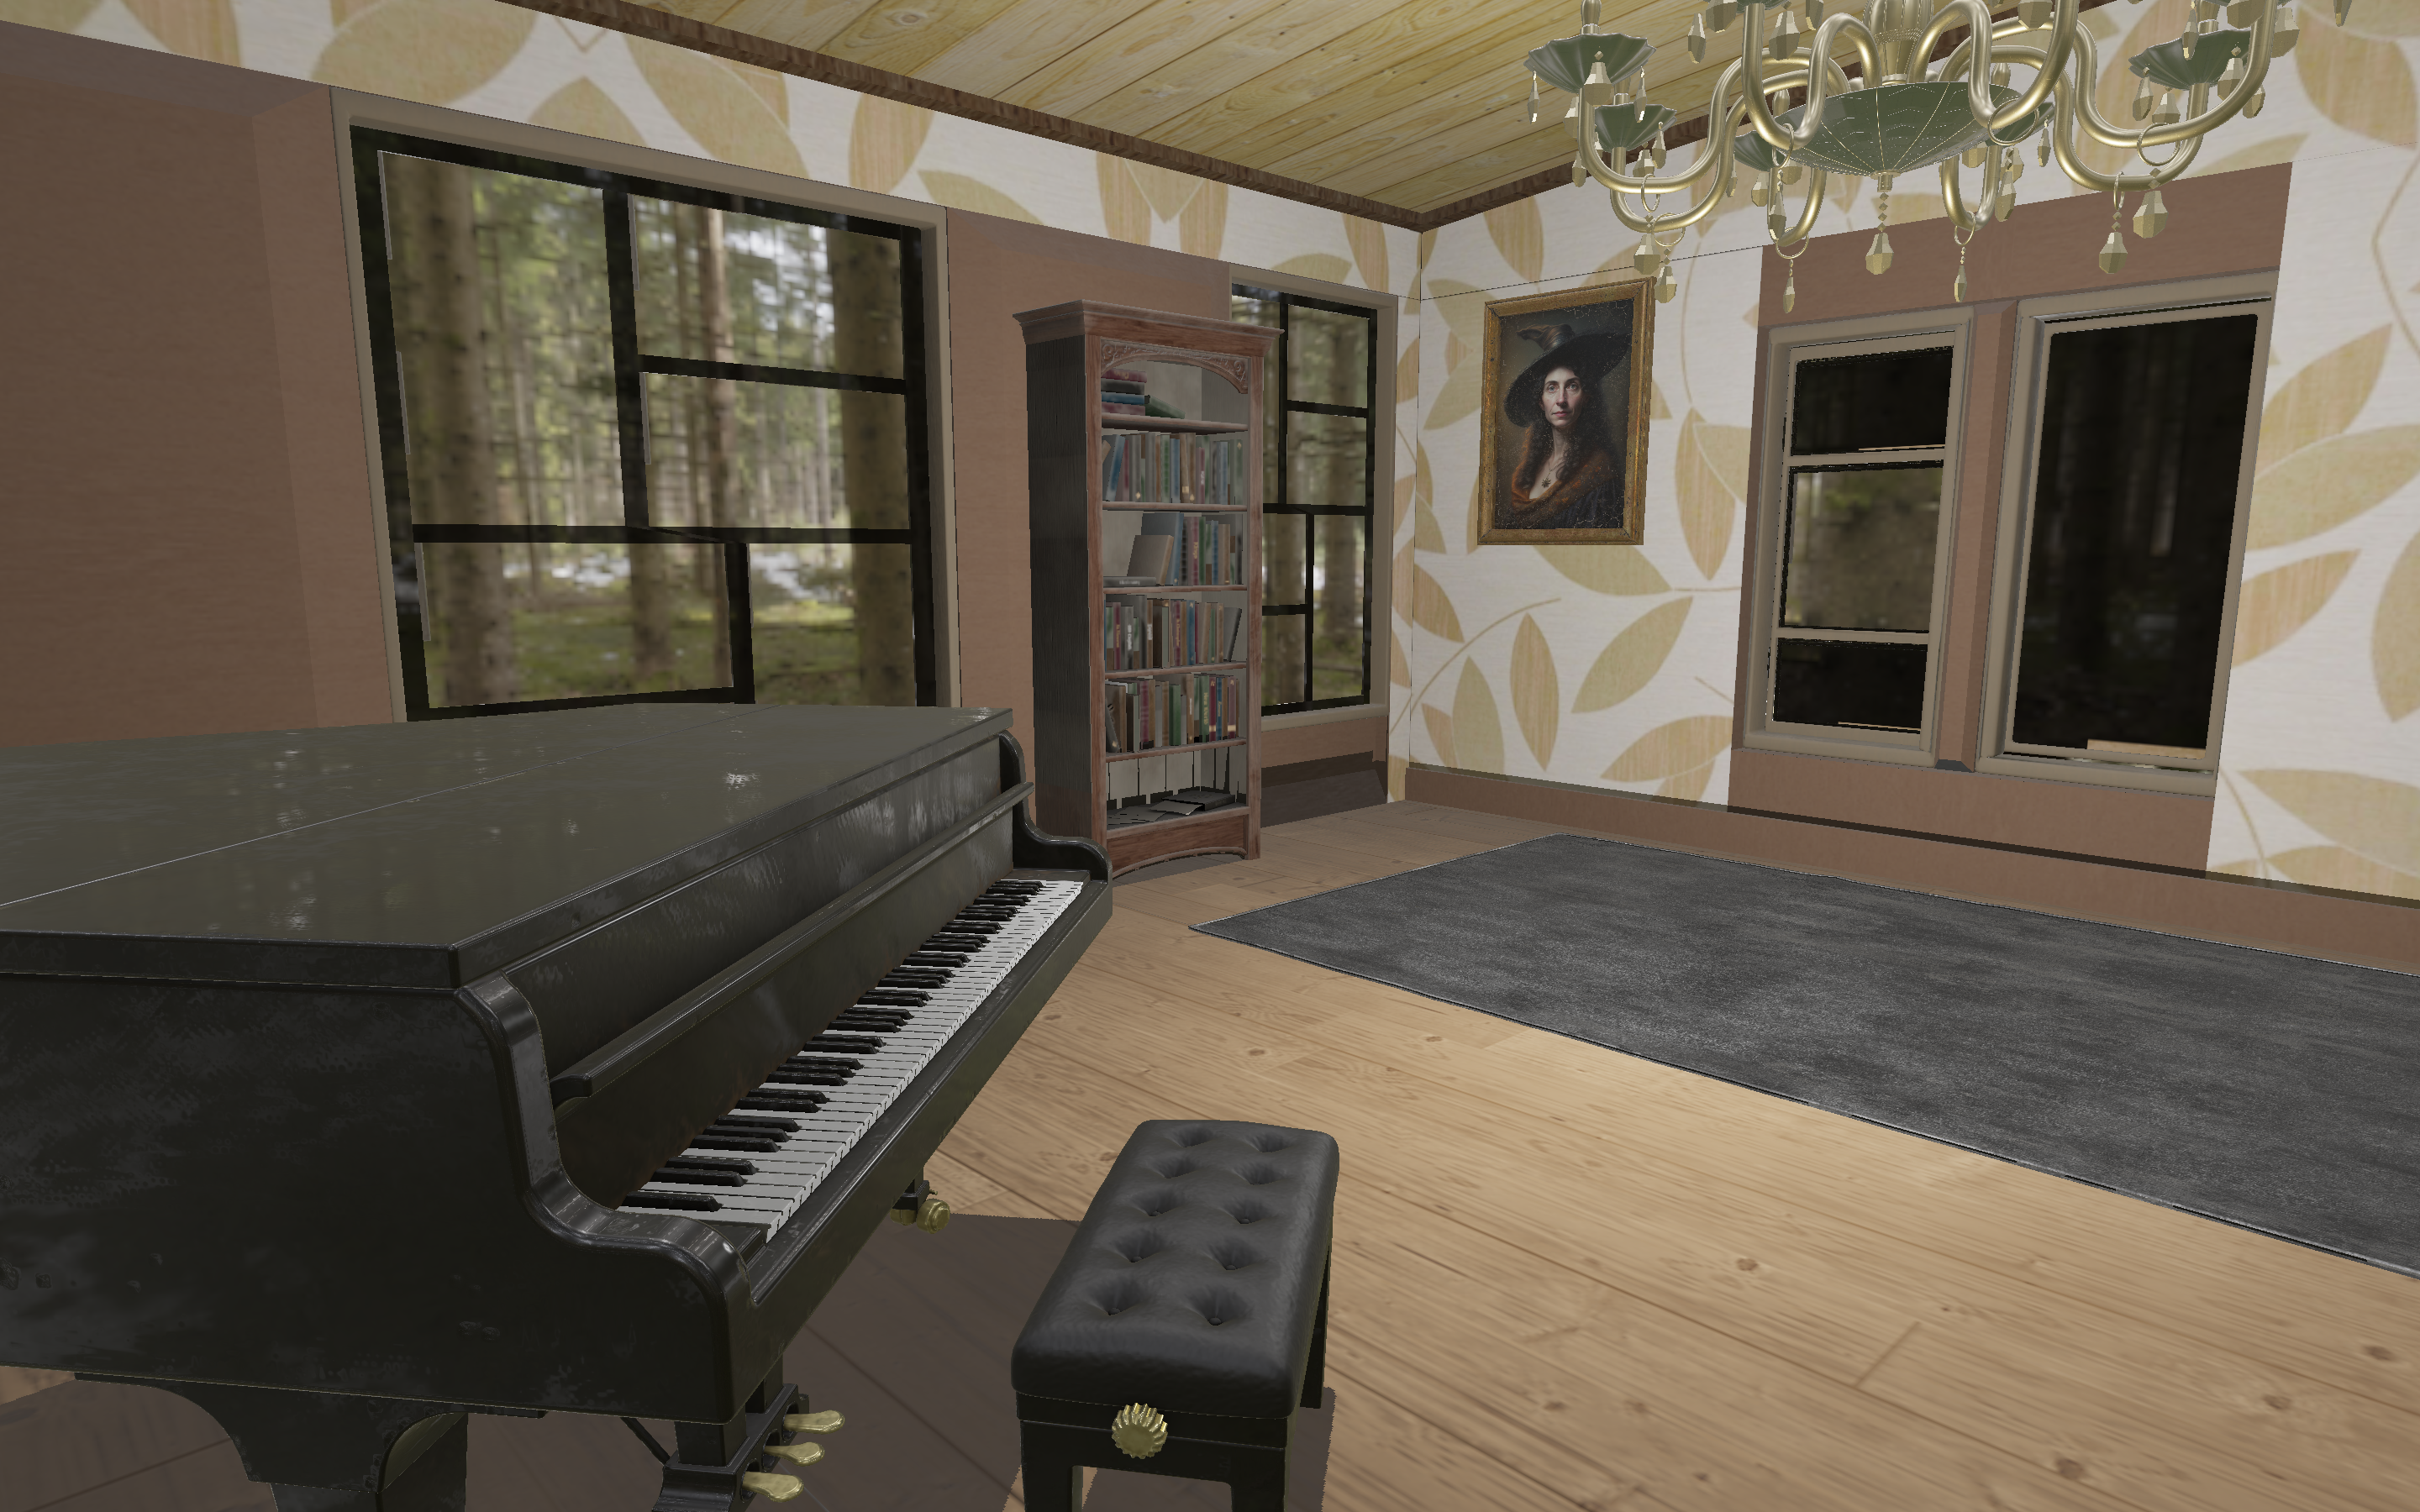
I quickly became proficient in OpenGL and was able to build a complete engine using it. However, in efforts to become an all-around better graphics programmer, I wanted to have more APIs in my arsenal, and understand the graphics pipeline at a deeper level. OpenGL, while simple and easy to use and learn, is an outdated and a high-level API, which abstracts a lot of details from the developer and restricts advanced and custom development. As a result, I decided to embark on the journey of learning and mastering Vulkan. Although Vulkan is verbose and difficult to learn and use, it is a low-level API, which provides the programmer so much control over the rendering pipeline.
Early Days
I started my journey in January 2025 by first creating a small window with a simple triangle. This took me almost a week just to get right, because of the many vulkan entities that needs to be set and initialized. It takes so many lines of code to just create a simple window. At first, nothing made sense to me.
What is a window surface ?
What is the logical and the physical device ?
What is image and image view ?
Although I was able to create a very simple triangle scene, I didn’t understand much about what was going on under the hood. This was not unusual to me. I have always faced difficulties with new advanced topics, and experience has taught not me to dwell on the lack of understanding, and instead continue progressing deeper into the topic. Grasping the topic is inevitable with time. This rule has never failed me, which is why I continued re-reading the Vulkan documentation, and adding more advanced features.
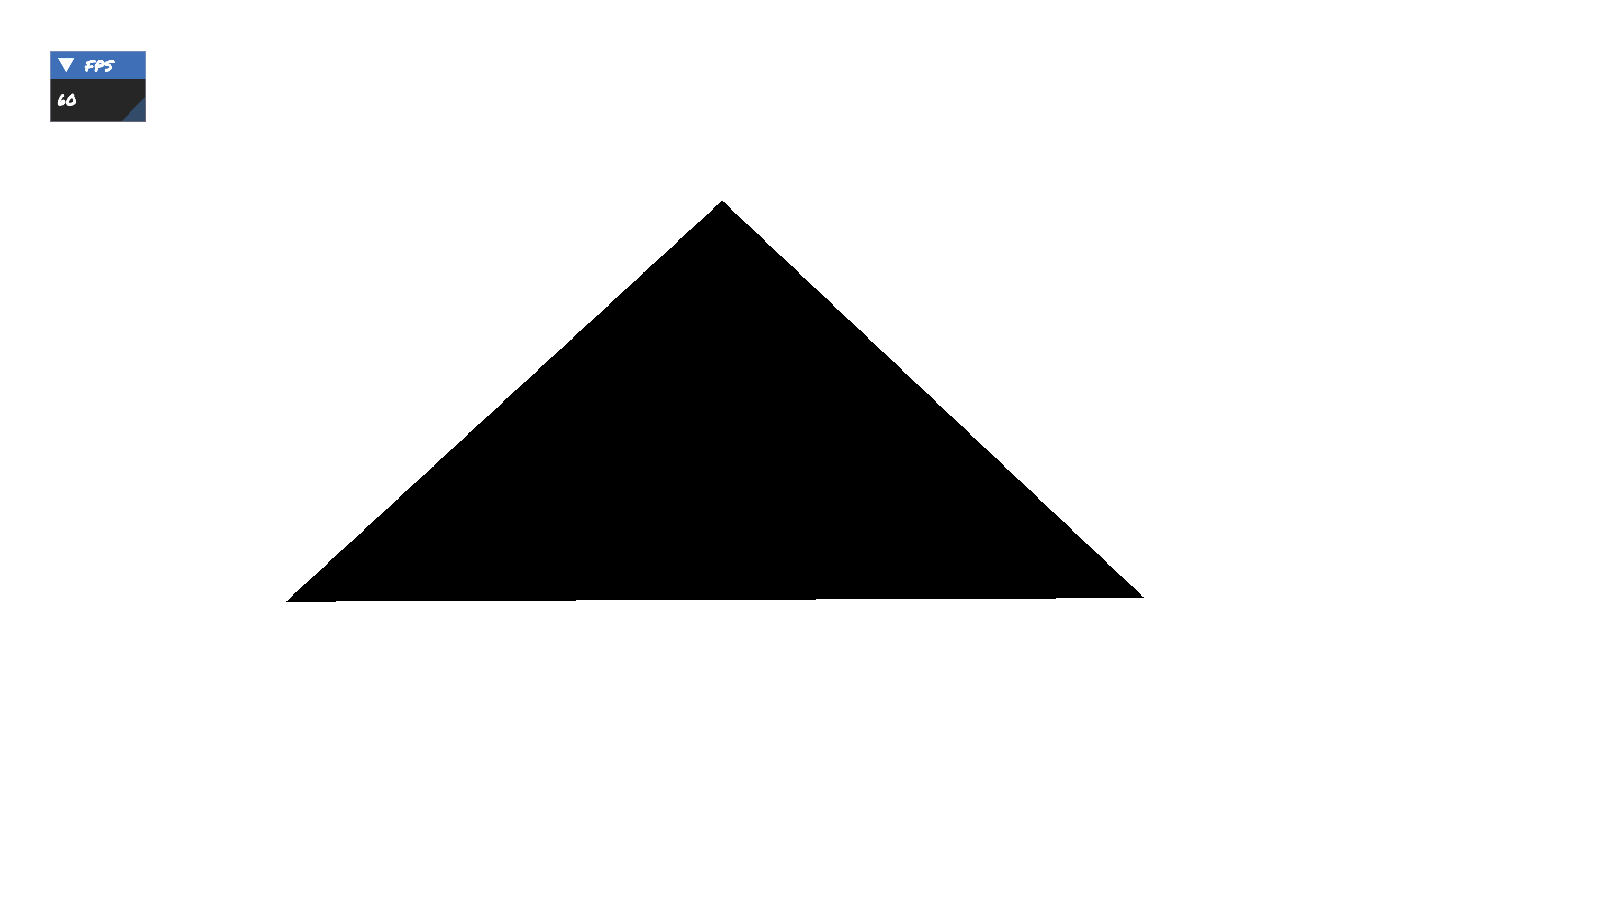
After rendering that simple triangle, I thought the next logical step would be to load an OBJ model. It’s the simplest extension at that point, since all I had to do was load the OBJ model using the Assimp library, upload the vertex data inside the vertex buffer and create an extra index buffer and upload the index data to it. With just a few extra steps, the engine was capable of rendering more complex 3D models, instead of just a simple polygon.
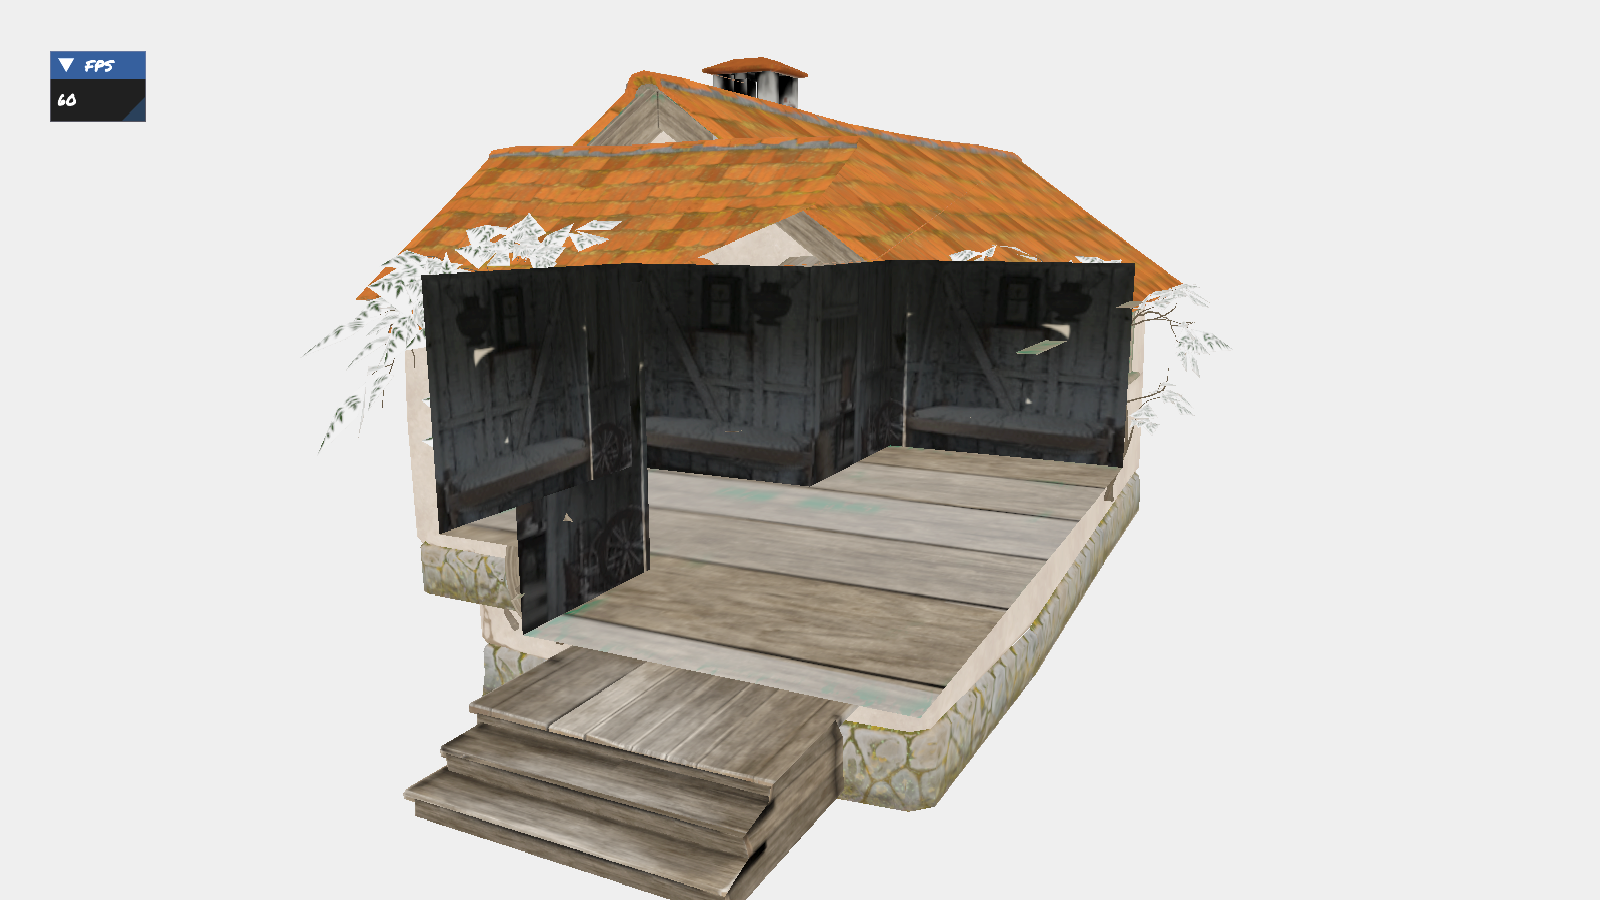
Although the engine was capable of rendering 3D models, depth testing wasn’t implemented at that time, resulting in incorrect scenes. Unlike OpenGL where depth testing is implemented for you, in Vulkan, the developer has to create the depth image and image view, besides the color attachment, and attach it to the main frameBuffer, for depth values to be stored, and for depth testing to be activated.
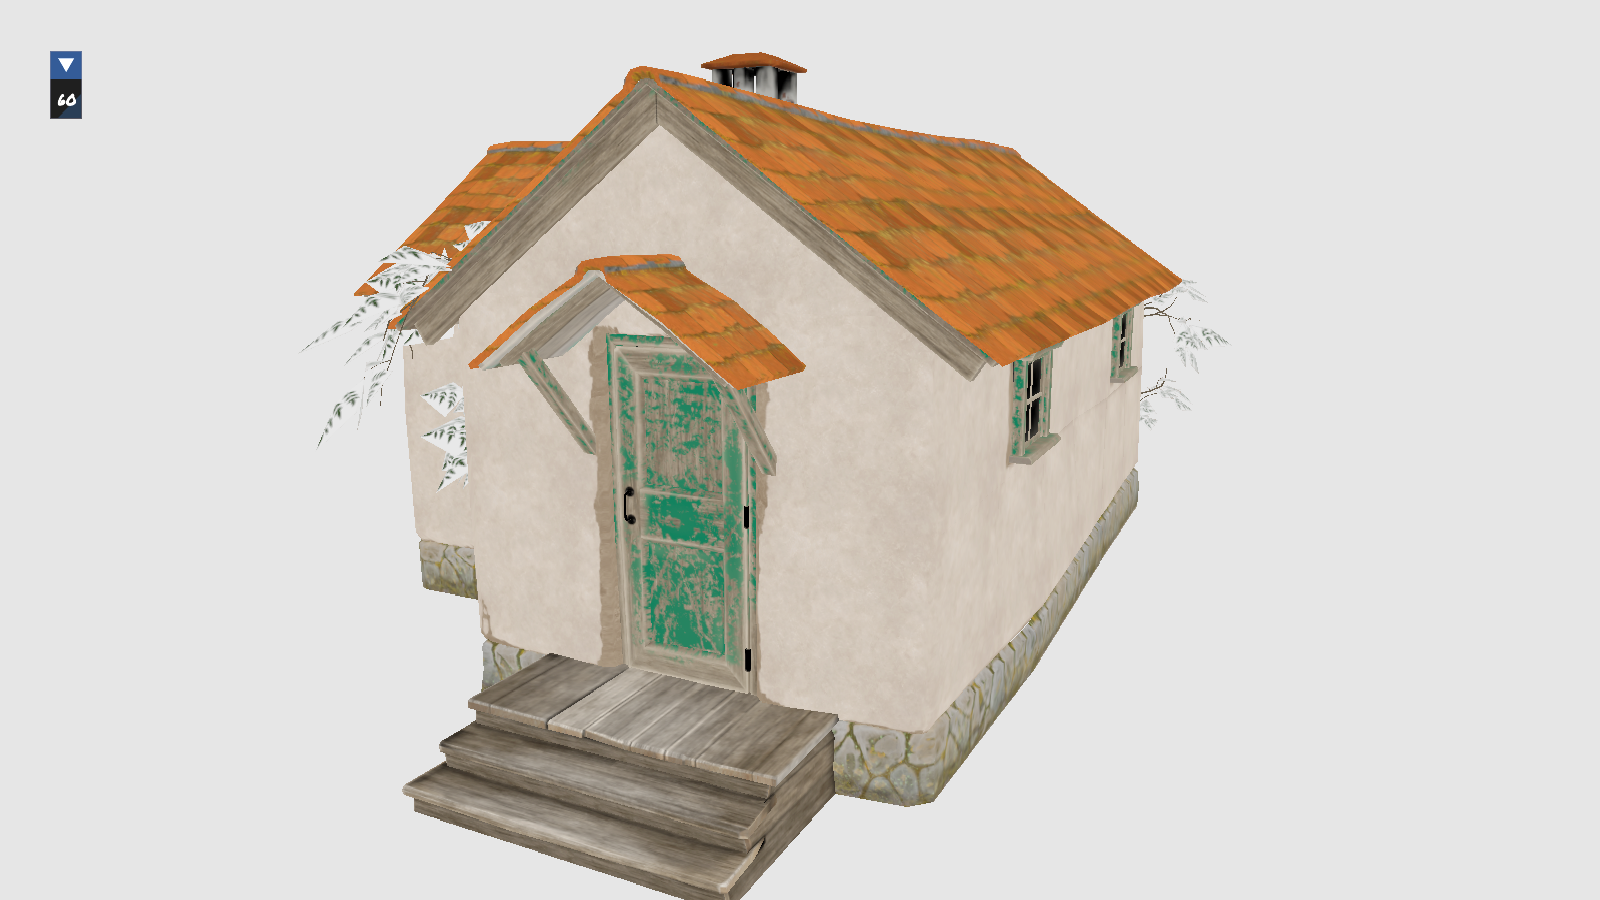
The development journey, at that point of time, became much smoother. I started enjoying Vulkan, because I was able to experiment with the different configurations, and actually see it reflect directly on the screen.
For example, I started adding a functionality that allows the camera to roam freely in the scene. This involved a series of steps, which included building a view and a projection matrix, creating a uniform buffer to upload these matrices into, and finally update the descriptor sets to account for the extra binding of the uniform data in the vertex shader. This allowed me to produce renders from different point of views, and create a reasonably good foundation for more advanced scenes.
Refactoring Engine Code
At that point, I decided to stop adding more features, and instead try to understand Vulkan in more details. I wanted to grasp the purpose of each vulkan construct, and recognize how they are connected in the graphics pipeline. In my experience, the way I understand any source code has always been through refactoring the code. That is, I started re-organizing the code into classes, where each class is a stateless utility-style unit which manages a single vulkan entity in the rendering pipeline.
For example, I created a graphics pipeline class which is responsible for creating, binding and destroying a graphics pipeline object, as well as managing its configurations. I continued refactoring all Vulkan constructs in my program into static components and grouped them all into a single module called “Engine”. This way, whenever I need to create a vulkan object, I could simply call a single function in the engine module
(Engine::GraphicsPipeline::BuildGraphicsPipeline(GraphicsPipelineBuildConfiguration{}))
and provide it with all the needed parameters, to build that object and return it. This design choice reduced the clutter in the source files, and created a clean workflow that can easily be understood by anyone, including future me.
Once I refactored the engine code, it became clear to me why Vulkan is a superior choice as a graphics API. Its verbosity and low-levelness can be a headache, yes. But once I was able to have a grasp of the entities involved in the rendering pipeline, I started prefering Vulkan over any other APIs I have worked with in the past. It gives me the ability to control every aspect in application, and, hence, the ability to hack and optimize some features, where no higher-level API would have allowed me to do so.
I was excited to continue developing the engine further and add more features. That’s why, I decided that the next set of funtionalities to implement should be: Textures, a lighting system and physically-based rendering (PBR).
Adding Support for Textures
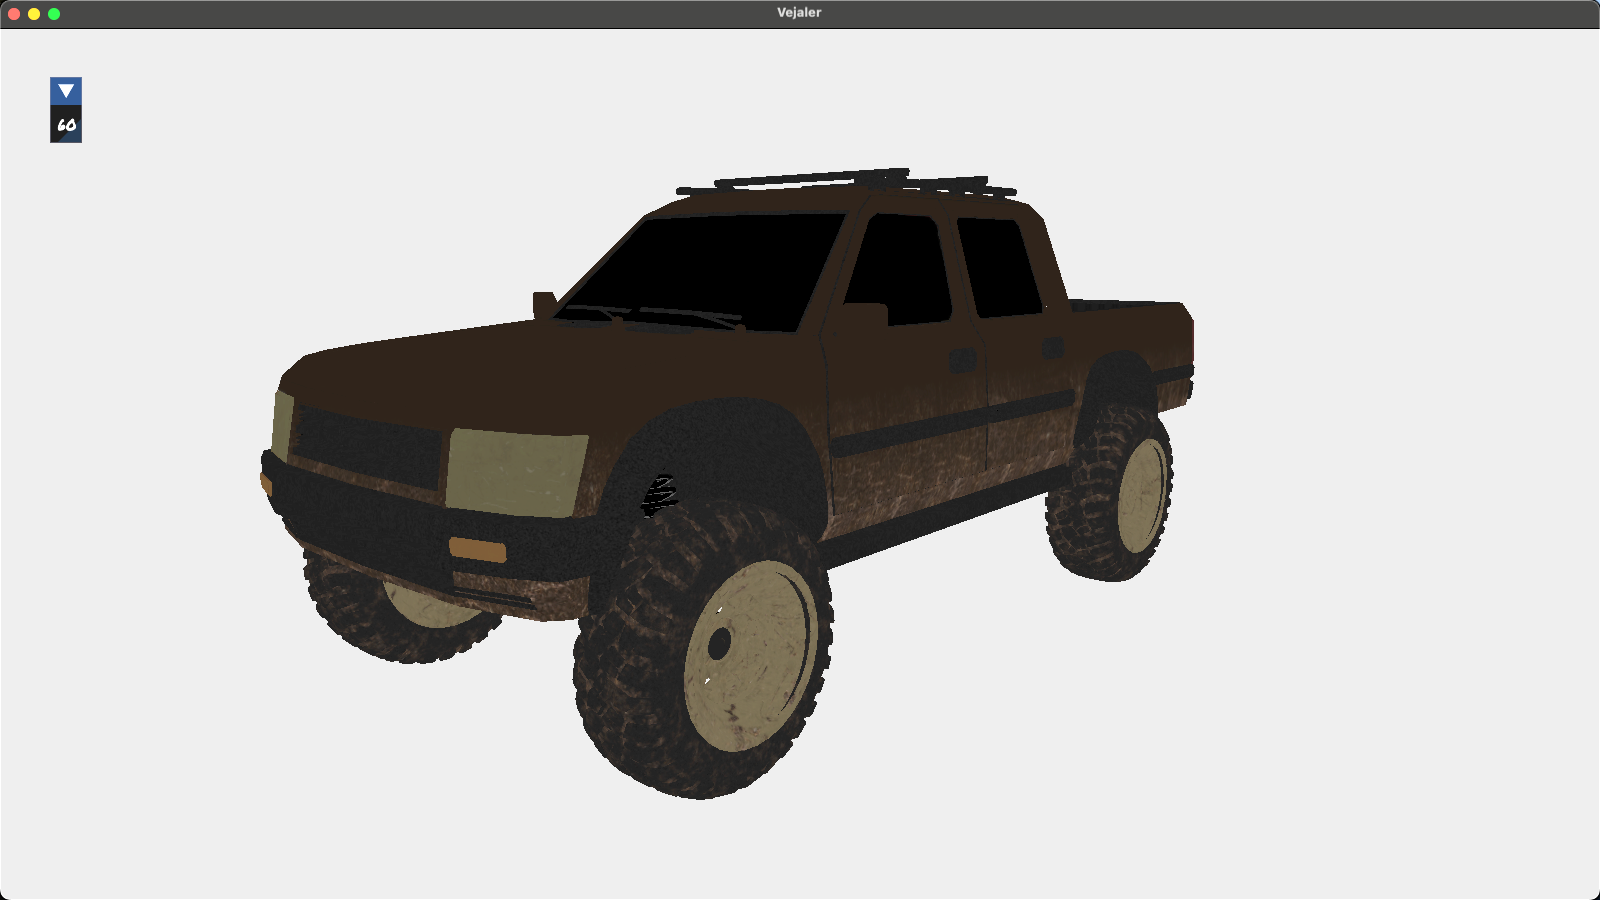
At that point, the engine was capable of rendering 3D models, but with solid colors only. The obvious next step of development was to add support for textures. Implementing textures was a bit tricky, as it involved several steps. The first step was obvious to me: I needed to load the image first. This part of the implementation was similar to how I used to do it in OpenGL. I used the library STB_Image to load the image data, and then store loaded data inside a vulkan buffer.
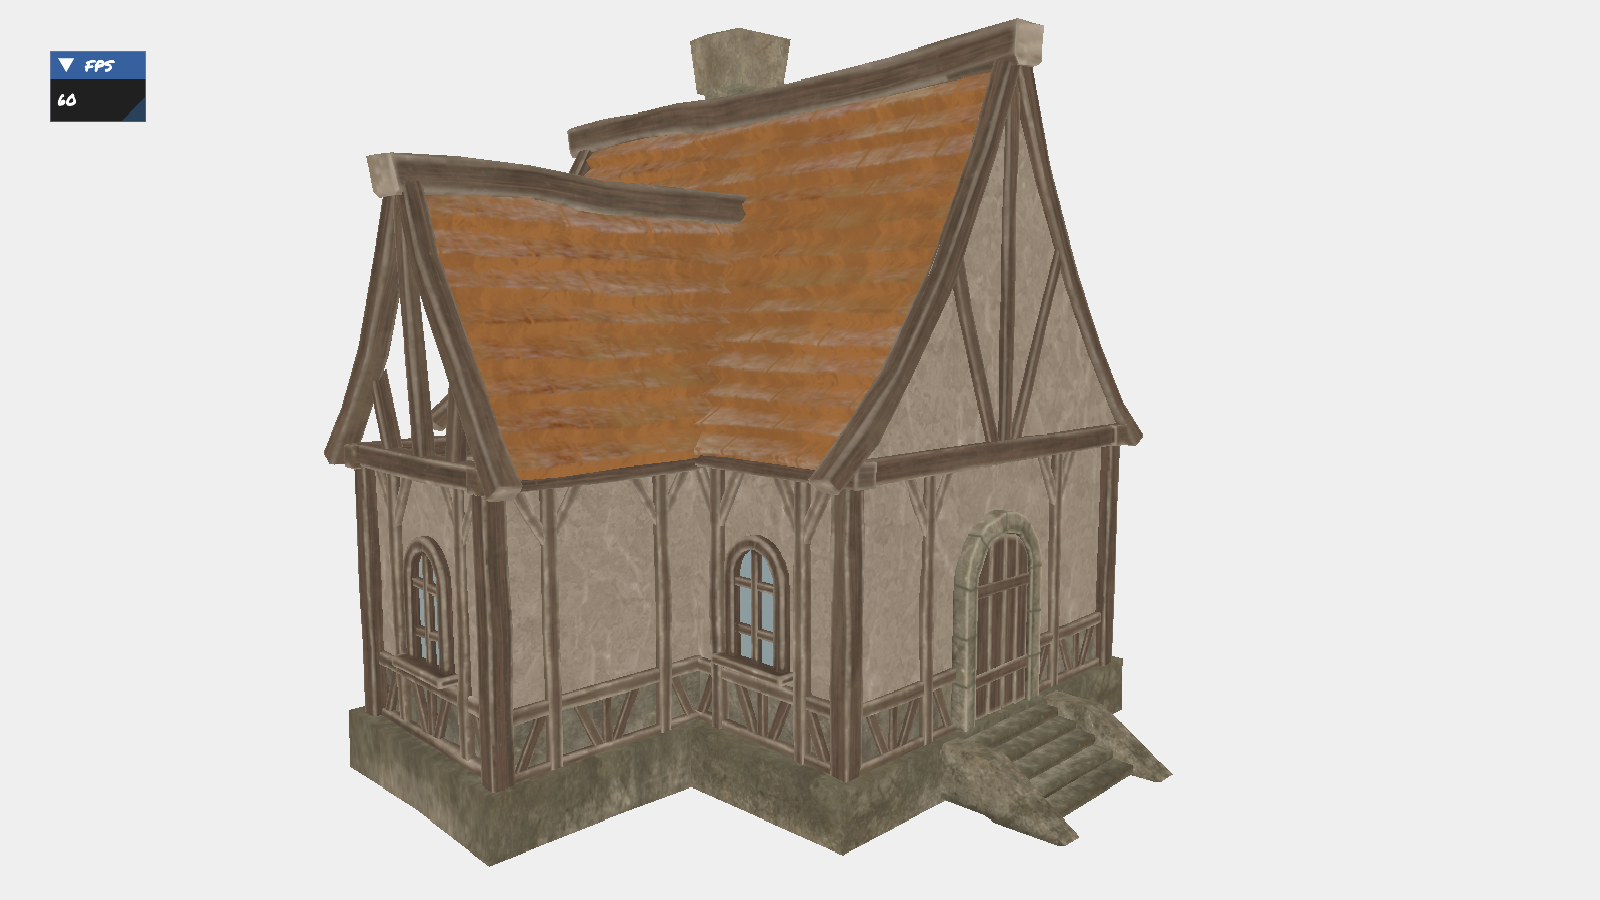
The next remaining set of steps involved creating a vulkan image, image view and a sampler. The image created then was an empty image construct, with no data stored inside it. That’s why, the subsequent step was to copy the image data from the vulkan buffer into the created vulkan image, while taking into consideration the necessary image layout transitions that needed to be done for the process to be successful. Finally, what was left after that was simply to update the descriptor sets by adding an additional descriptor image binding slot. With these implementations in place, I was able to see complex 3D models rendered with textures.
Implementing A Lighting System
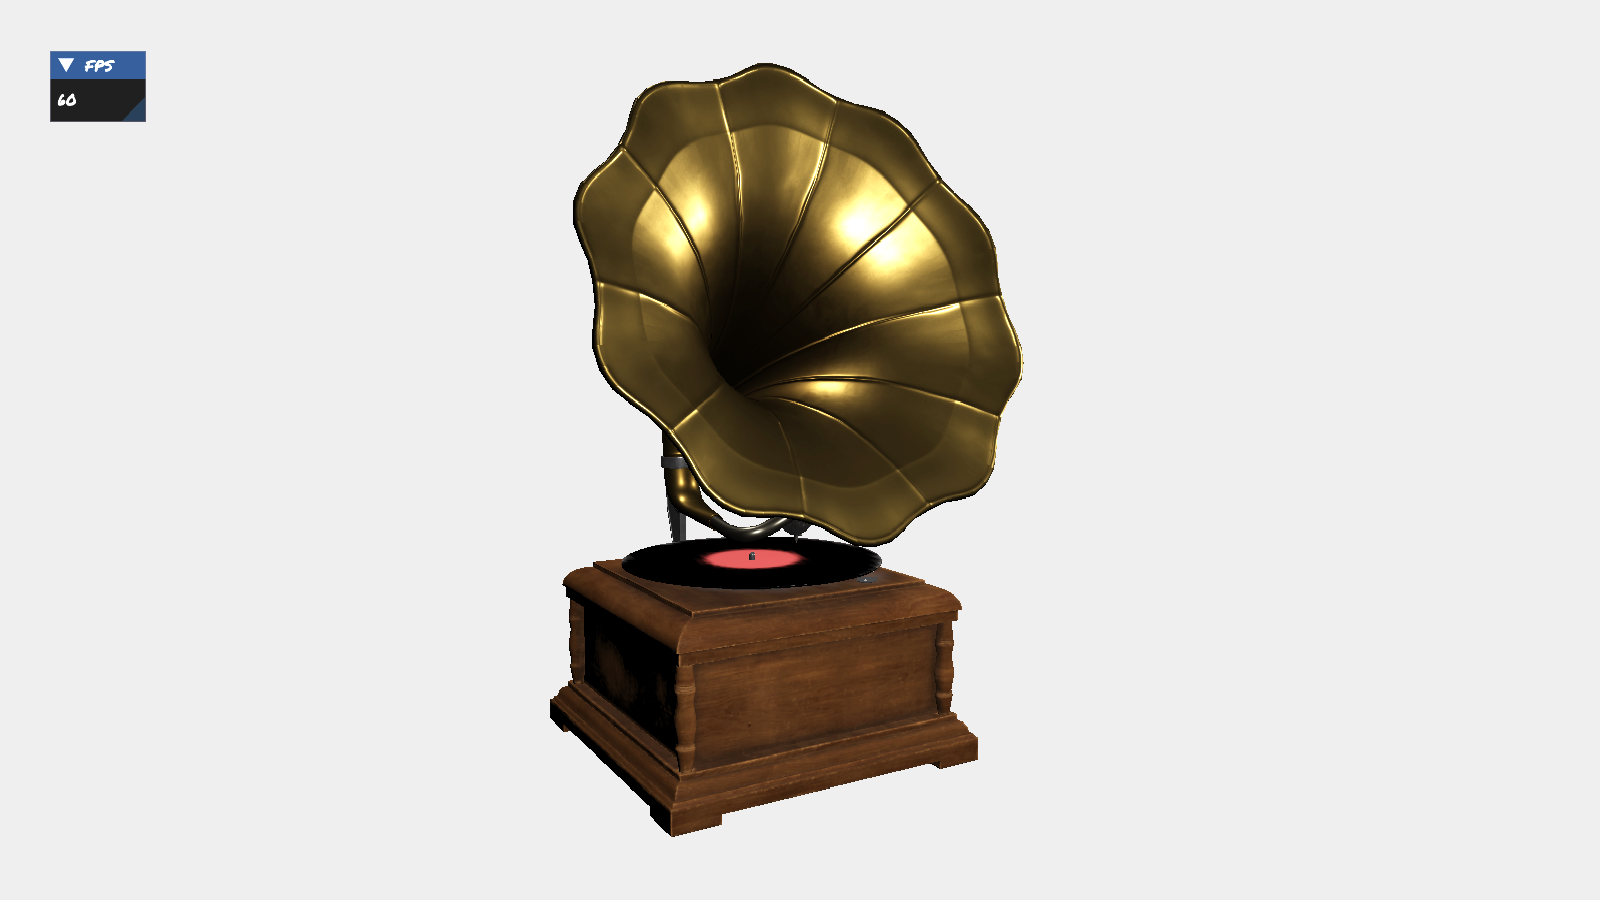
The scenes I had rendered so far were flat and unrealistic. Adding a lighting system was the simplest and most obvious functionality to be next included in the engine, as it would make the scenes more physically accurate and visually better. All I had to do was simply create a new uniform buffer in the fragment shader and fill it with information like the position and the intensity of the light source, and then update the descriptor set to account for the extra binding of that fragment shader uniform buffer.
However, something was missing in this implementation. Only one light source was accepted, which is unpractical, as a scene can have multiple. Although this can easily be fixed by passing an array of light positions and intensities to the uniform buffer, one issue arised. The size of the array in the shader must be known at compile-time. It cannot be dynamically determined at run-time. This posed restrictiveness on the engine’s ability to handle any random scene. The best solution I could find at that time was to define a MAX_NUM_LIGHTS varible in the shader and initialize it with a high number, and ensure that the user-defined number of light sources in the scene doesn’t exceed that limit. This was a resonable solution, though I am unsure if it was the best and most effecient fix for the problem.
The development journey so far was relatively smooth. There were no major obstacles being faced that I wasn’t able to intuitively straightforwardly handle and resolve. Luckily, there were no new Vulkan constructs to learn about. I got introduced to the majority of them at the very beginning when I was creating the simple triangle, and I kept re-using and recreating them for different features.
Implementing PBR
Implementing PBR at that time was the most obvious next step of development. The engine supported textures as well as a lighting system. Extending the engine to support PBR only required that I update the number of textures being supported to account for all the images in the PBR pipeline: Albedo, Displacement, Roughness, Opacity, Ambient Occlusion, Normal and Metallic. As for the shader code, I have already implemented PBR before in my OpenGL engine. All I had to do was refactor that code into my Vulkan engine.
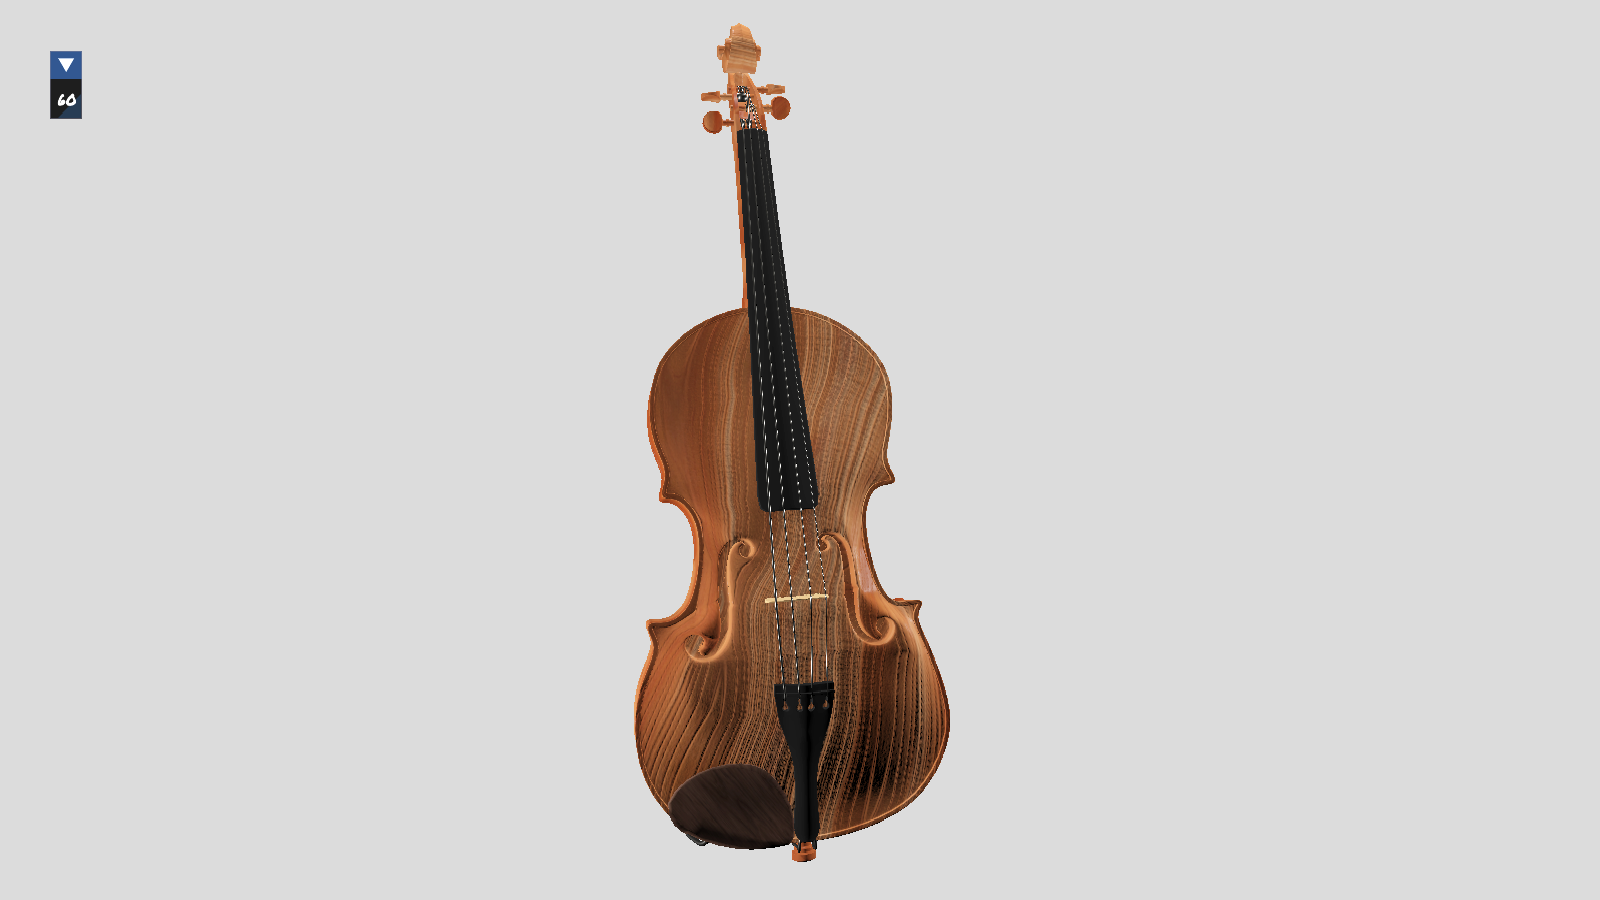
My rendering engine was able to produce reasonably accurate and realistic visuals. I experimented with many different scenes, using different number of light sources and intensities, in order to test the engine’s ability to handle all kinds of inputs. The issue that arised at that point was the lack of support for different image formats. My engine supported only png images, which was not practical nor effecient. Therefore, I added the support for all possible image formats, and account for the mismatch between the actual and the expected number of channels in the image.
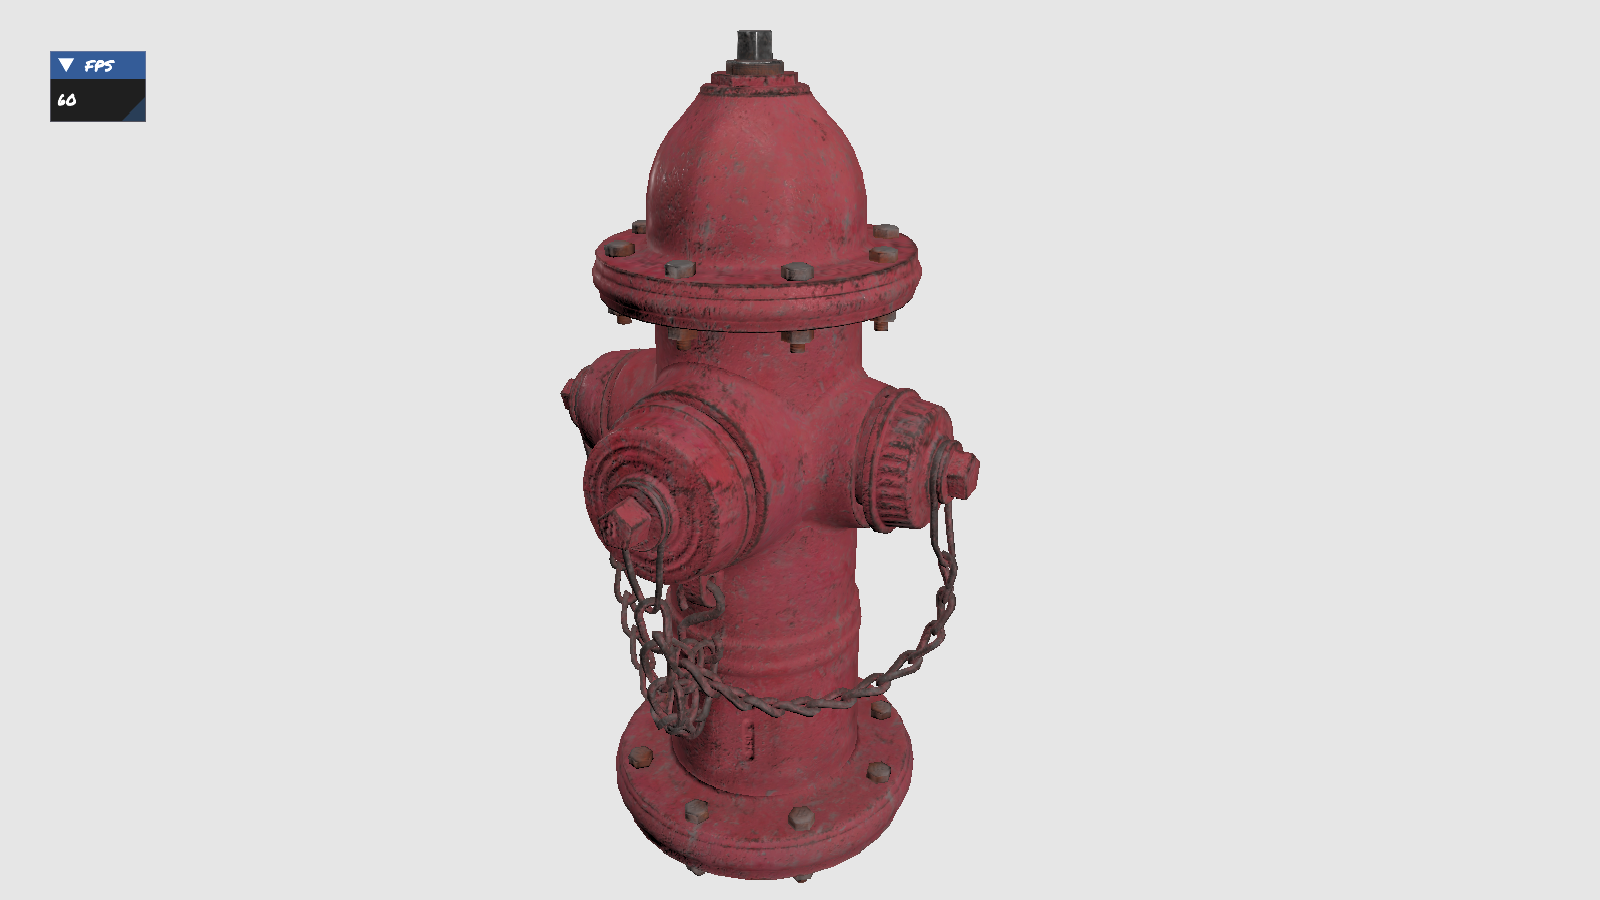
One thing I noticed in my PBR implementation was the fact that I was uploading textures like Metallic, AO, displacement and opacity, and only sampling from the red channel of the image. This was an inefficiency that could easily be resolved by merging several images in the PBR pipeline into one texture.
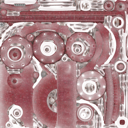
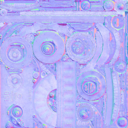
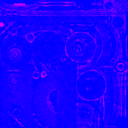
I merged the albedo and the AO image into one texture, where the albedo occupied the RGB component and the AO value occupied the A component. In a similar fashion, I also merged the normal and the roughness images. As for the metallic, displacement and opacity values, I merged all of them into one texture. This optimized my shader greatly, as then PBR can only be implemented using 3 textures, instead of 7 seperate textures.
Adding an HDR Skybox
Incorporating an HDR skybox into my engine was a challenging feature to implement. It involved many different complex steps, and it took me significant amount of time in debugging just to get it right. That’s because it involves an offline baking process and the managment of several vulkan images and descriptor sets.
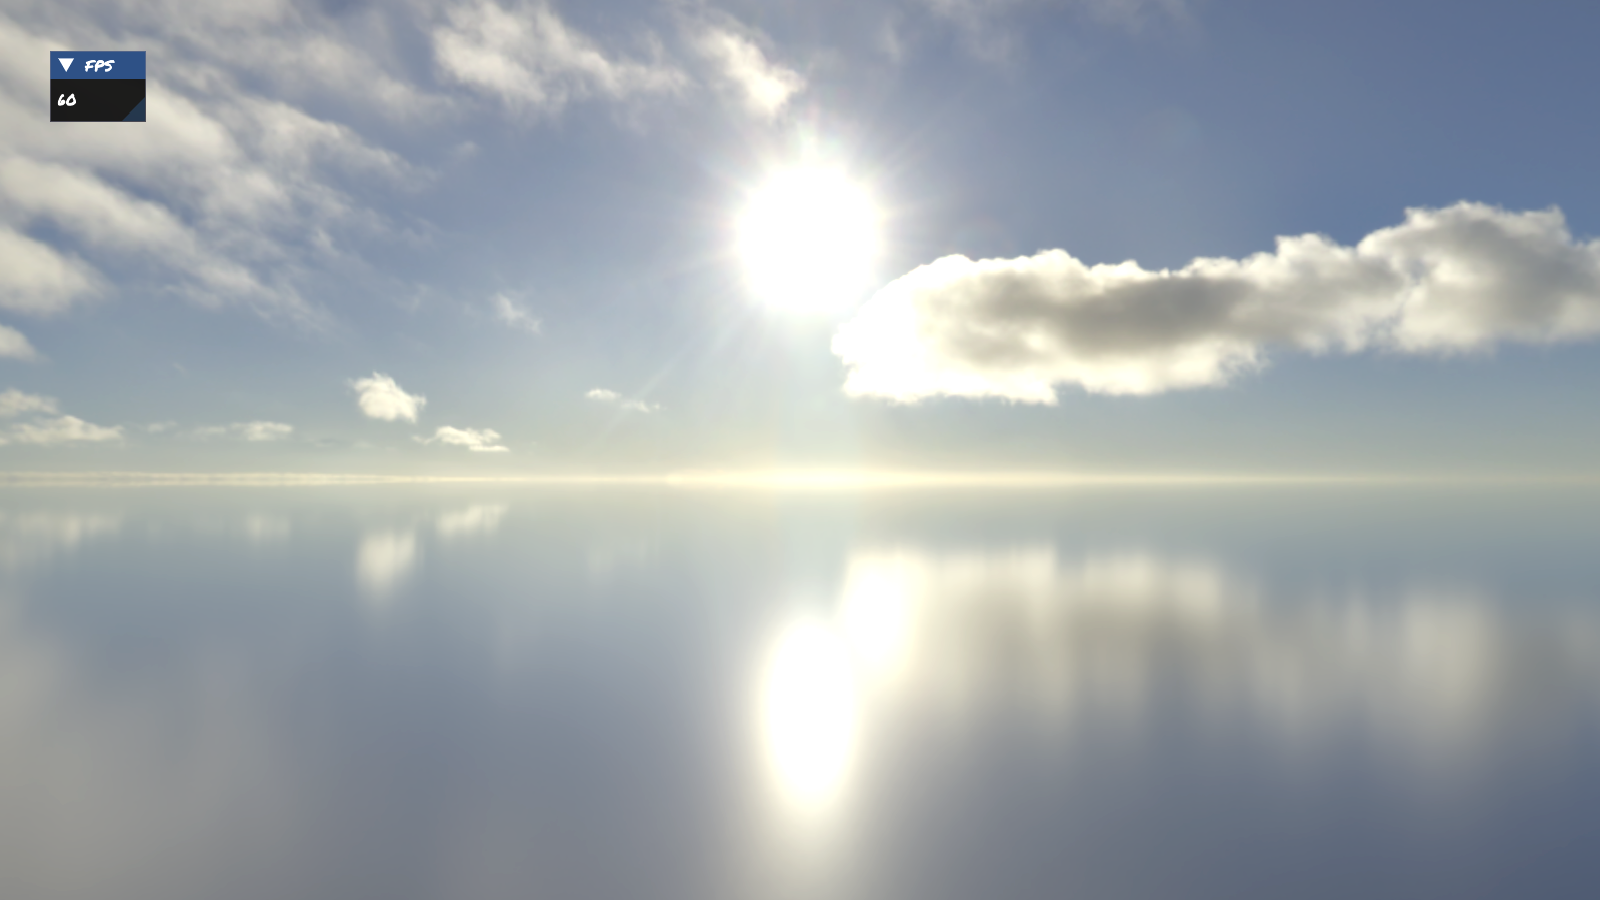
The first step I did was create a texture containing the HDR image. This process is similar to how textures were created in the PBR implementation. First, I loaded the HDR image using the STB_Image library, and uploaded the image data into a Vulkan buffer. Then I created a Vulkan image, and copied the image data from the buffer to that Vulkan image. However, The equirectangular texture just created cannot be used to render a skybox. It had to converted into a cubemap texture, to be sampled from and rendered into the screen later on. This conversion process involved sampling from the equirectangular texture and baking into an empty cubemap texture. Hence, I created an empty Vulkan image of type cubemap, and initiated the baking process.
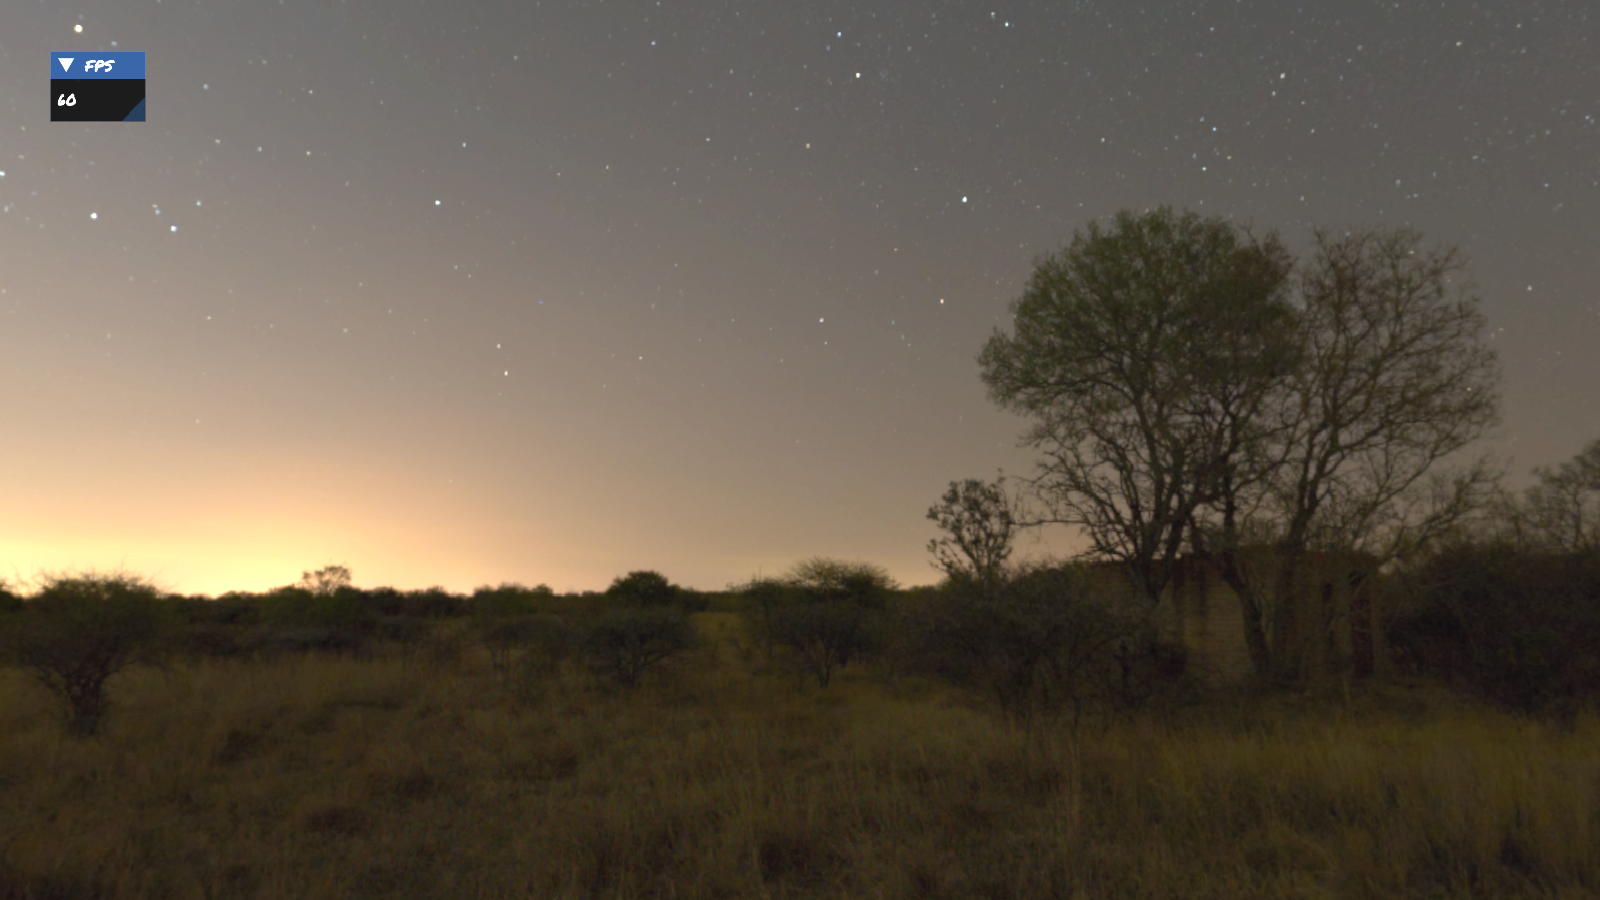
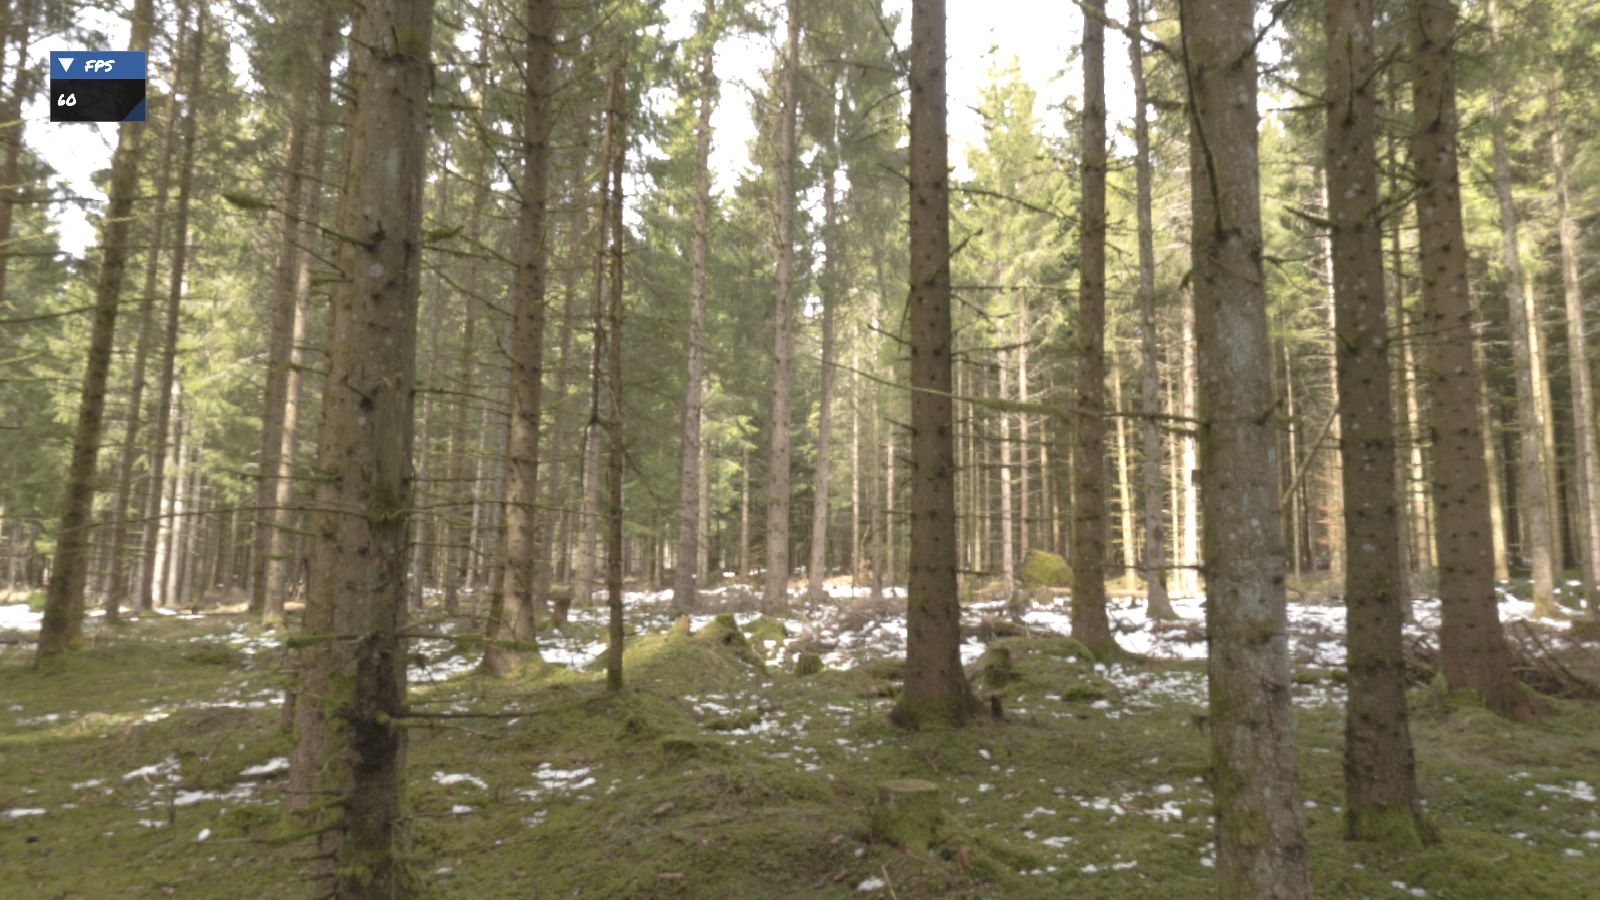
The baking process involved collecting samples from the equirectangular texture and using them to fill all 6 sides of the cubemap. This process is invoked only once during the engine initizalizqtion phase, and is not re-run, unless the skybox is changed dynamically during run-time. After the cubemap texture is filled with the HDR image data, it is used and sampled from every frame to render the skybox.
To Be Continued ….
I offer graphics programming services for both students and professionals - including private tutoring and project development for custom games, engines, and real-time applications.
Learn more → Tutoring
Learn more → Project Development